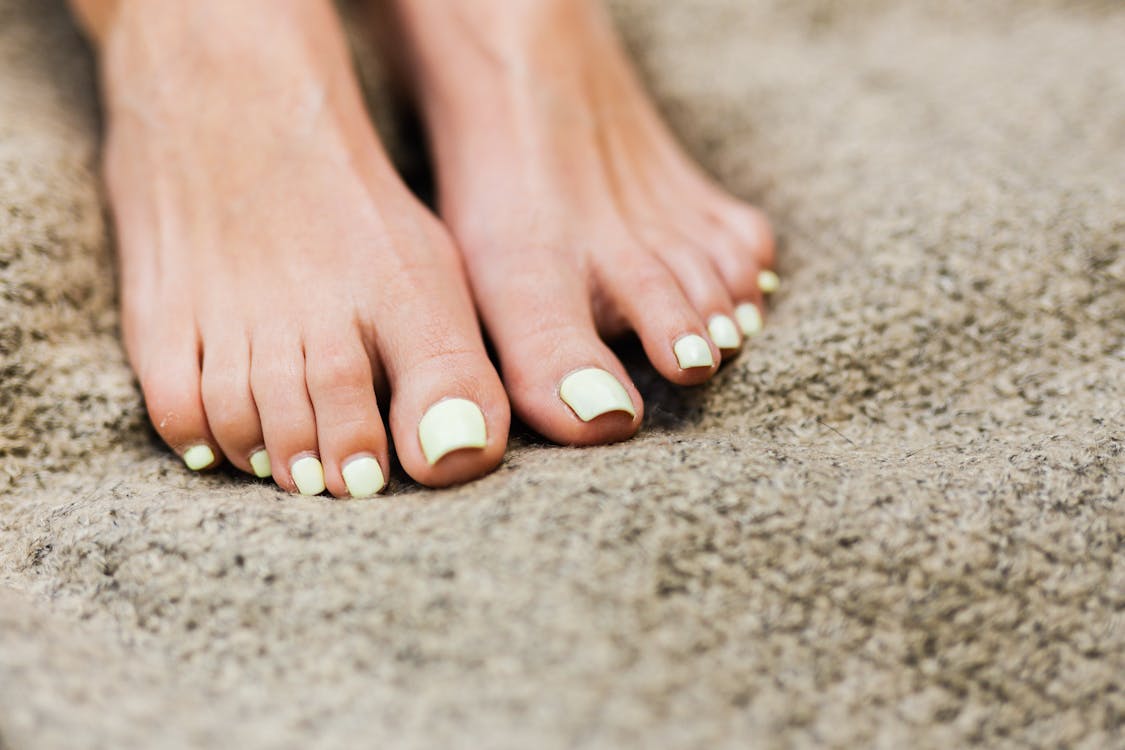
The Ultimate Guide to a Perfect Pedicure at Home
In today's fast-paced world, taking time for self-care can be challenging. However, pampering your feet with a pedicure at home is an excellent way to relax and rejuvenate. Not only does a DIY pedicure save money, but it also allows you to customize your experience to suit your preferences. In this guide, we'll walk you through the steps to achieve salon-quality results from the comfort of your home.

Why a Pedicure at Home?
A pedicure at home offers numerous benefits. It's cost-effective, convenient, and can be done at any time that suits you. Plus, it’s a great way to ensure hygiene and use your preferred products. Whether you want to maintain your foot health or simply indulge in some me-time, a home pedicure is the way to go.
What You'll Need
Before you start, gather the necessary tools and products:
Foot Soak Basin: A large bowl or basin for soaking your feet.
Nail Clippers: For trimming your toenails.
Nail File: To shape and smooth the edges.
Cuticle Pusher: To gently push back cuticles.
Pumice Stone or Foot File: For exfoliating dead skin.
Moisturizer: To hydrate your feet.
Nail Polish and Base/Top Coat: For a polished finish.
Step-by-Step Pedicure Guide
1. Prepare Your Space
Set up a comfortable area where you can sit and relax. Lay down a towel to catch any drips or spills. Fill your basin with warm water and add a few drops of your favorite essential oil or foot soak solution. Soaking your feet softens the skin and prepares it for exfoliation.
2. Soak Your Feet
Immerse your feet in the warm water for about 10-15 minutes. This step helps to soften the skin, making it easier to remove dead skin cells. You can also add Epsom salts to the water for an added detoxifying effect.
3. Trim and File Your Nails
After drying your feet, use nail clippers to trim your toenails straight across to prevent ingrown nails. Use a nail file to smooth the edges and shape your nails as desired.
4. Care for Your Cuticles
Apply cuticle oil or cream to soften the cuticles. Gently push back the cuticles with a cuticle pusher, being careful not to damage them. Avoid cutting your cuticles as they protect your nails from infection.
5. Exfoliate
Use a pumice stone or foot file to gently exfoliate the soles of your feet, focusing on areas with calluses or rough skin. This step helps to remove dead skin and leaves your feet feeling smooth and soft.
6. Moisturize
Rinse your feet and pat them dry. Apply a generous amount of moisturizer, massaging it into your feet and up to your ankles. For an added treat, slip on a pair of cozy socks to lock in the moisture.
7. Paint Your Nails
Before applying nail polish, wipe your nails with a bit of nail polish remover to ensure they are free of oils and lotion. Apply a base coat to protect your nails, followed by two coats of your favorite nail polish. Finish with a top coat to add shine and extend the life of your polish.
Tips for the Best Results
Consistency: Make pedicures a regular part of your self-care routine for the best results.
Hydration: Keep your feet moisturized daily to prevent dry, cracked skin.
Foot Masks: Treat your feet to a hydrating foot mask once a month for extra softness.
Conclusion
A pedicure at home is a wonderful way to pamper yourself without the need to visit a salon. By following these simple steps, you can achieve soft, smooth feet and beautifully polished nails. Remember, the key to a great DIY pedicure is taking your time and enjoying the process. So, set aside an hour, gather your supplies, and treat your feet to the care they deserve.
Taking the time for a pedicure at home not only improves the appearance of your feet but also enhances your overall well-being. So, why not start your at-home pedicure ritual today? Your feet will thank you!

 Cricket Score Counter
 Heads or Tails
You have not logged in, please Login to comment.